Today we are introducing a new segment to our blog called "The Business Card Break Down" duh duh duh... (dramatic drums).
In each episode, we will do a brief overview of the client, the design of the piece, the print specs of the piece, and the digital files that were used to produce the card.
This week's episode is brought to you by Feliz Interiors (Houston, TX).
Transcript:
Hey, everybody! This is Austin Terrill, CEO, and founder of Print Peppermint, your favorite refreshingly creative online printer specializing in uniquely high-end custom business cards. Today's "Business Card Break Down" is brought to you by Feliz Interiors out of Houston, Texas. Feliz's Instagram account boasts nearly 5,000 followers and describes themselves as an eclectic lifestyle boutique and interior design firm.
But let's jump right in. First, I want to talk about design. The designer of this piece opted for a very minimal and elegant layout with a focus on typography. Nice move in my opinion. Less is always more, especially with the limited real estate of a business card.
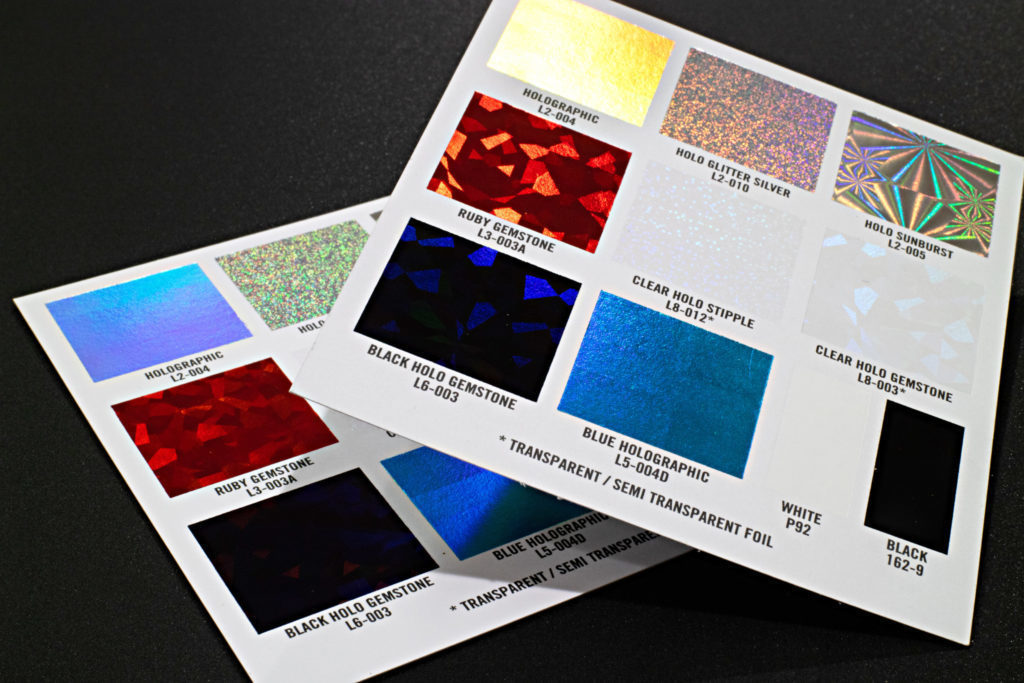
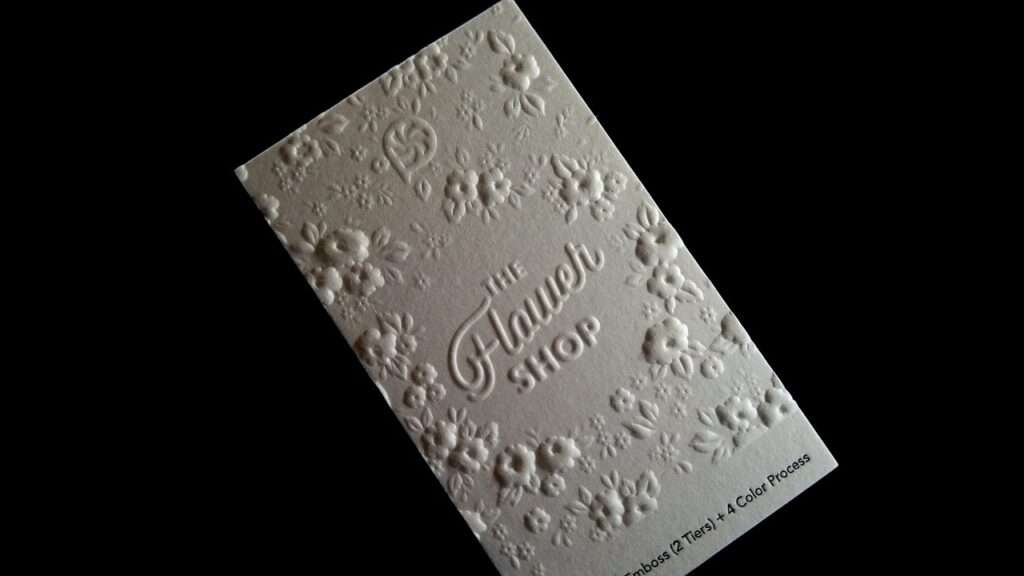
For the paper, the client chose our massively thick, incredibly beautiful 100% natural cotton stock. This is a triplex uncoated stock that comes in a thickness of 50-point, which is just over 3 times as thick as a standard business card. This card features no printed ink on either side but instead displays its text and design elements with hot foil stamping in luxurious gold.
As you can see, the metallic gold works great for the large letters in Feliz Interiors. The F, the E, the L, the I, the Z (means happy in Spanish in case you didn't know) but also remains perfectly legible on the word Houston even though it's only about a four or five-point font size. On the backside, you'll notice the designer chose to place a large circular logo with the F knocked out of it for "Feliz", also in hot foil gold.
What I want you to notice is the surface area on this foil element is very large but does not show any scratches, hickies, or missing segments. That has a lot to do with the paper that you choose when doing foil stamping. Because the cotton is uncoated and so fibrous, the foil sheet really loves to just latch on to it, and it's got lots of little surface area fibers to grab on to.
You may have already noticed that the card has been embellished with metallic gold ink on its edge, and it just looks incredible. It does not match exactly the gold foil color that's on the front and the back, but it really doesn't bother me. It won't bother you, and it won't bother your clients either. If you do need it to be exact, we do offer foil edge stamping, and it would be perfectly the same.
Now, I want to take a look at the design files that we're put together in order to produce this piece. Our customers at Print Peppermint range from the designer who just graduated all the way to the seasoned pro, which means we are used to and more than capable of handling any type of file you can throw at us. So this is what the original customer file looked like, and as you can see, they've shown the sort of gold color inside the design file.
And that's pretty typical of our customers because they want to visualize what the card is going to look like after it's produced with foil stamping. But that is not what we need in order to make the mask files to produce the die to do the foil stamping. We actually need to convert this to black and white. So what we do is we take our customer's files, we analyze them, we check them for mistakes, and then we turn around and we give our customers something that looks like this.
This is our official production proof. You can see, there's a disclaimer at the beginning saying, "Please check your spelling, your type styles, your placements, all of that good stuff so that we don't end up having to print this thing twice." In the proof, we see that the first call-out shows that there is no ink printing on the front and no ink printing on the back. The second call-out shows here that we intend to produce the front of the card with gold foil, hot foil stamp, and the back as well.
If we continue down here, we also see that there is a third call-out for the debossed feature of this piece. So we show that, on the front, not on the back, we're actually going to foil stamp this gold, and then we're going to put a lot of pressure at the same time and push it deep down into the grains of the paper.
And that lovely 100% cotton soft stock will create a very beautiful, dramatic textural sensation that when you run your thumb over it, you'll actually be able to feel the indentation of those letters. What you'll also notice here is that we do show a digital mockup inside this PDF, but it is just that, a digital mockup on a computer screen and it is never going to reflect exactly what the physically printed card would look like if you were holding it in your hand.
All right, guys, that's been today's episode of the "Business Card Break Down." Again, I'm Austin with Print Peppermint. I hope you enjoyed yourself. I hope you learned something. And feel free to leave your comments down below. I will respond to them as promptly as I can, and we'll see you again next week on the "Business Card Break Down." ♪
[music]♪