DESIGN
How to Design for Metal Business Cards
File requirements and design tips for metal business cards. Vector formats, layer separation for engraving vs cutouts vs printing, minimum text sizes, structural rules for cutouts, and how to adapt an existing paper card design for metal.
By Austin Terrill · Print Peppermint · 10 min read
On this page
- Card dimensions
- File format
- Layer separation — the critical step
- Engrave layer
- Cutout layer
- Print layer
- Design constraints
- Minimum text size: 6pt
- Minimum line weight: 0.3mm
- Cutout structural rules
- Gradients and halftones
- Reverse text on colored metals
- Adapting an existing paper card design for metal
- File checklist
- Common design mistakes on metal
- Design tips (what works best)
- Common questions
- I'm not a designer. Can you design my metal card?
- Can I see a proof before production?
- Do you have a design template I can download?
- What if my design doesn't work on metal?
- How long does the file review take?
- Can I put a photograph on a metal card?
Designing for metal is not the same as designing for paper. The production techniques are different (lasers, not presses), the constraints are different (no gradients in engraving, structural rules for cutouts), and the file setup is different (layer separation by technique, not just CMYK ready).
If you're a designer preparing files for metal business cards, this guide covers everything you need to know. If you're not a designer and you're sending us a logo or an existing paper card design to adapt, skip to the "Adapting an existing design" section — we handle the technical file preparation, and this guide tells you what to expect from that process.
Card dimensions
Metal business cards are credit card size: 3.375" × 2.125" (85.6mm × 54mm). This is the ISO/IEC 7810 ID-1 standard — the same dimensions as a credit card, driver's license, or ID badge.
This is slightly different from standard US paper business cards (3.5" × 2"). The metal card is narrower by 0.125" and taller by 0.125". If you're adapting a paper card design, you'll need to adjust the layout to fit the slightly different proportions.
The corners are rounded with a standard radius (approximately 3mm). This is not configurable — all metal cards have the same corner radius, matching the credit card standard. If your paper card design has sharp square corners, the metal version will have rounded corners.
File format
Submit vector files. Adobe Illustrator (.ai) or PDF with all elements as vector paths. These are the required formats because laser engraving and laser cutting follow vector paths — the laser traces the outlines of your artwork to etch or cut the metal. Raster images (JPG, PNG, TIFF) do not work for engraving or cutting.
If your design includes color-printed elements (photographs, gradients, multi-color graphics), the print layer can include raster images at 300 DPI minimum. But the engraving and cutout layers must be vector.
Convert all text to outlines before submitting. This prevents font substitution issues and ensures the laser follows the exact letterforms you intended. In Illustrator: select all text, then Type → Create Outlines.
If you're working in a non-vector program (Canva, Photoshop, Figma) and can't export vectors, send us whatever you have — a high-resolution PNG of your design, a Canva share link, a Figma export. We'll recreate the production file as vectors during our file review process. There's no additional charge for this. We'd rather you send imperfect files and let us fix them than struggle with file formats you're not comfortable with.
Layer separation — the critical step
This is where metal file prep fundamentally differs from paper. In paper printing, you prepare one unified print-ready file and the printer handles the rest. In metal production, your design file must separate elements into distinct layers based on which production technique applies to each element.
Three layer types:
Engrave layer
Everything that will be laser-etched INTO the metal surface. This includes: text (names, titles, phone numbers, email addresses, URLs), logo outlines and marks, line art, decorative patterns, borders, and any graphic element you want permanently etched into the card.
Set all engraving elements in a designated color or layer — typically a specific Pantone spot color (we use "ENGRAVE" as the swatch name) or a dedicated layer in Illustrator labeled "Engrave."
Engraving is binary. The laser either marks the surface or it doesn't. There is no half-engraving, no gradient engraving, no variable-depth engraving. If your design includes a gradient, that element must move to the color print layer — it cannot be engraved.
Every metal card includes engraving. It's the base production method and is included in the price at every tier. You don't need to do anything special to "enable" engraving — just put the elements on the engrave layer and they'll be etched.
Cutout layer
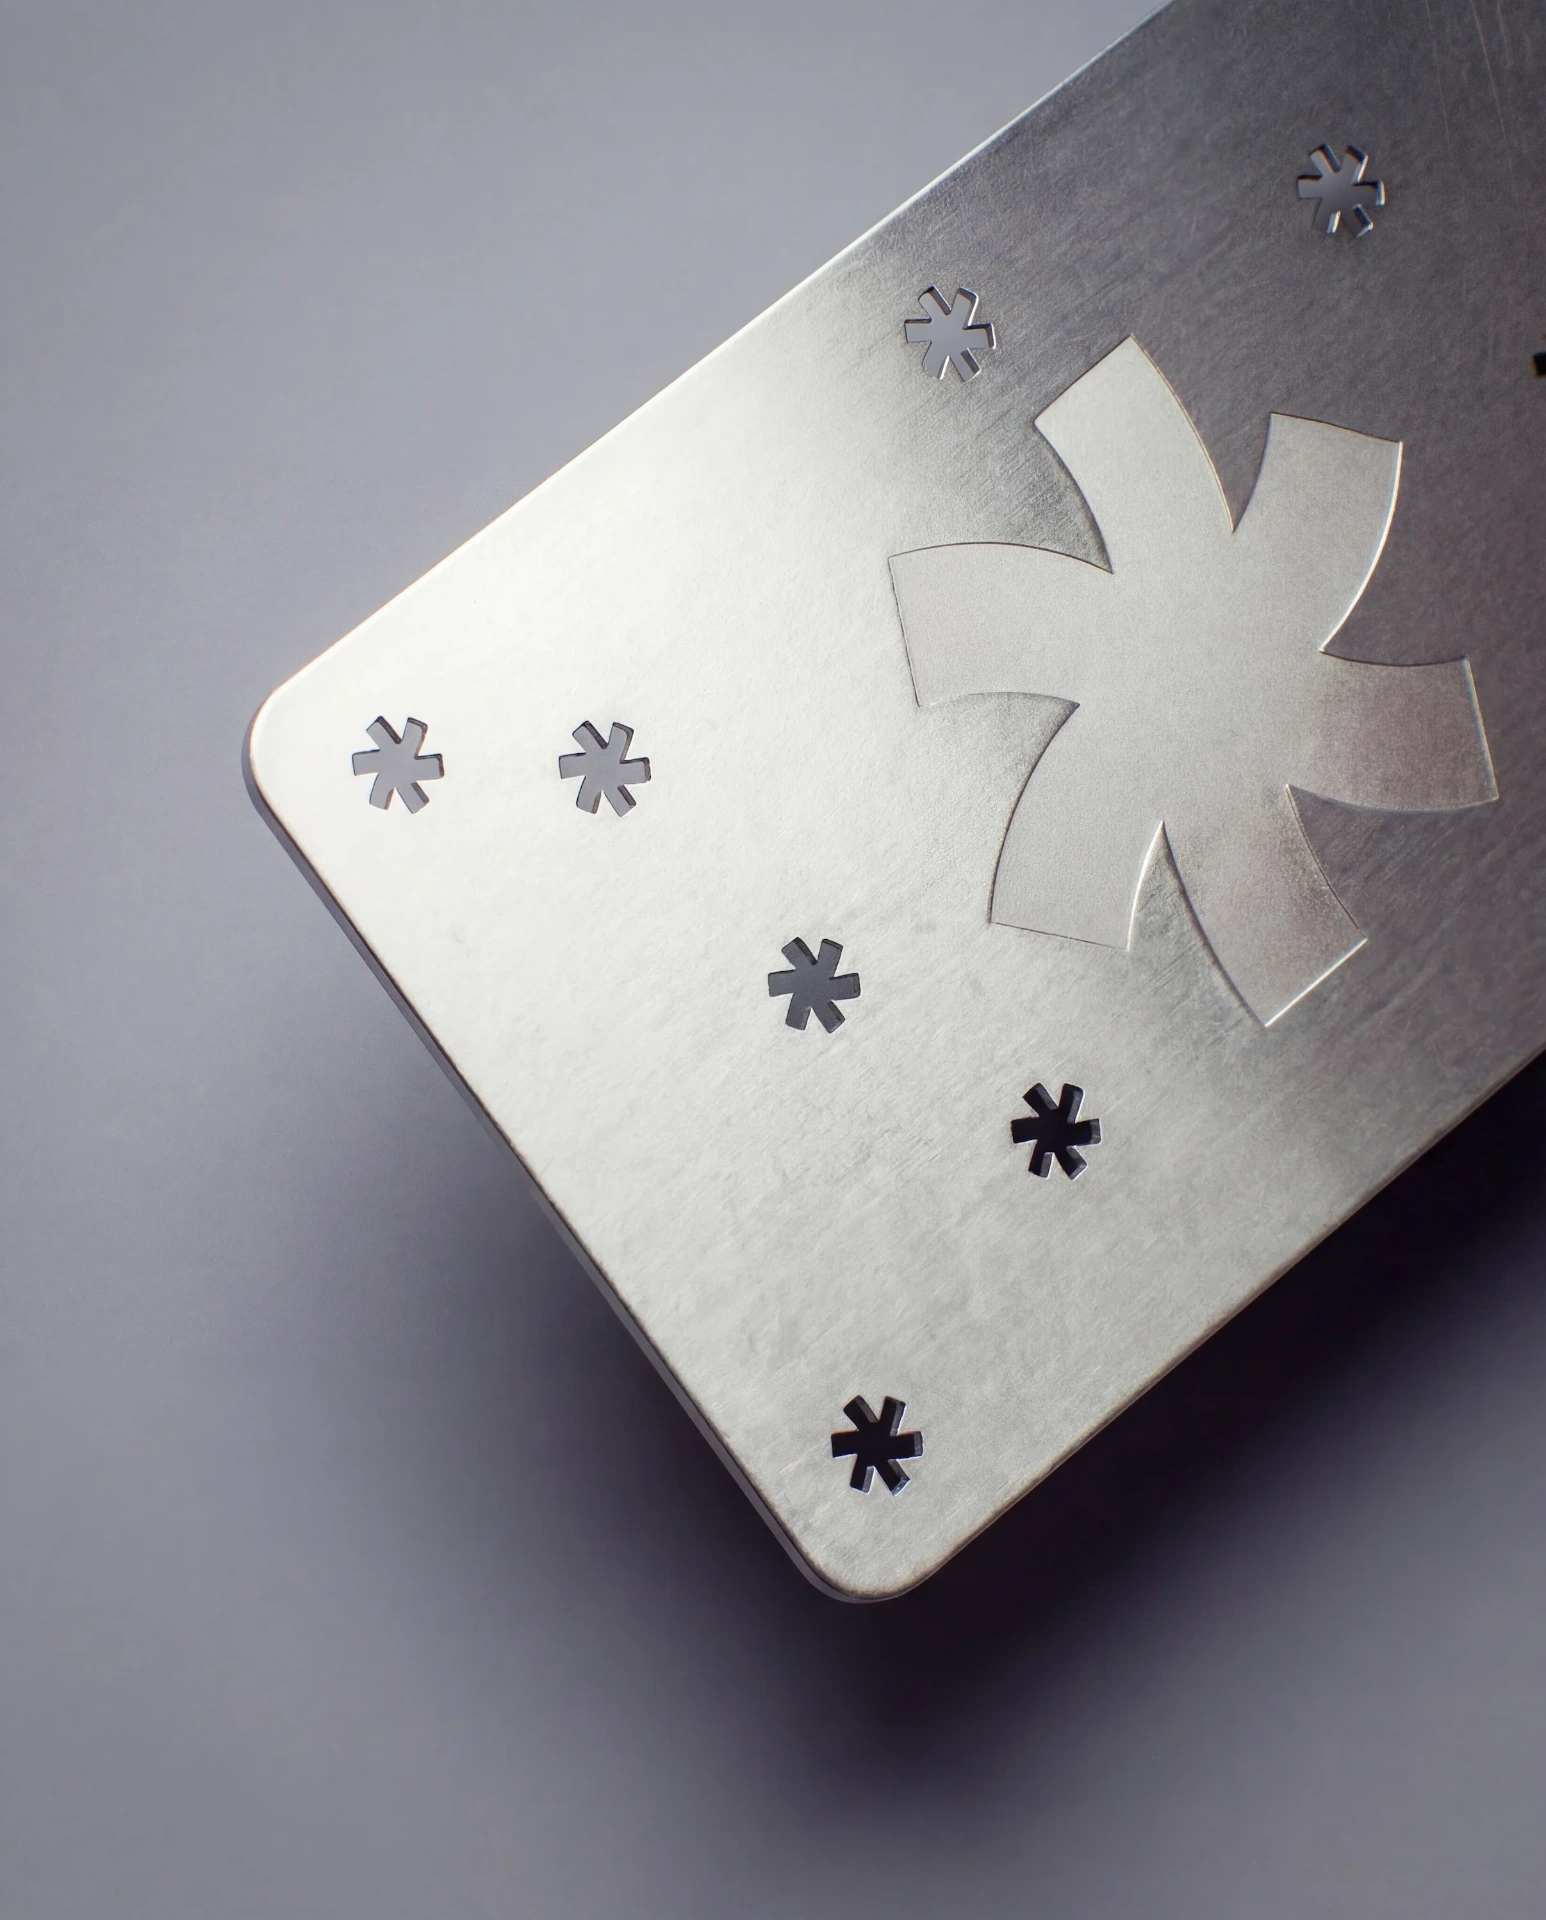
Everything that will be laser-cut THROUGH the full thickness of the card, removing the metal entirely. Cutouts create open space — holes, shapes, patterns, negative space.
Set all cutout elements in a different designated color or layer — labeled "CUT" or a distinct Pantone spot color separate from the engrave layer.
Cutout paths must be closed vector shapes. The laser traces the outline of the shape and removes the material inside. Open paths (lines that don't close into a shape) will not produce a cutout.
Cutouts are an add-on. They're not included in the base price. If your design doesn't have any cutout elements, you don't need this layer.
Print layer
Everything that will be color-printed onto the metal surface. This includes: full-color logos, photographic images, gradient backgrounds, multi-color illustrations, and any element that needs CMYK color reproduction.
The print layer follows standard print file conventions: CMYK color mode, 300 DPI minimum for raster elements, fonts outlined. This layer is printed via offset onto the metal surface before or after engraving, depending on the design.
Bleed: If any printed elements extend to the card edge, extend them 1mm beyond the trim edge. This is smaller than the typical 3mm bleed for paper cards because metal cards are die-cut to exact size after printing — the tolerance is tighter.
Color printing is an add-on. It's not included in the base price. If your design is engraving-only (text and line art in a single color), you don't need this layer.
Design constraints
Minimum text size: 6pt
Text below 6pt does not engrave reliably. At smaller sizes, thin strokes and fine serifs don't etch completely — the laser can't maintain clean definition on elements that small. If your current paper card has text at 5pt or smaller (common for legal disclaimers, taglines, or fine print), it needs to be enlarged for metal.
For best results, keep body text at 7pt or above and limit 6pt to secondary details only. Headlines, names, and primary text should be 8pt+.
Bold and medium weights engrave better than light weights. A thin-weight sans-serif at 7pt may lose definition in thin strokes, while a medium-weight sans-serif at the same size engraves cleanly. If your brand typeface is a thin or light weight, consider stepping up one weight for the metal version.
Minimum line weight: 0.3mm
Engraved lines thinner than 0.3mm (approximately 0.85pt) risk being invisible or inconsistent. The laser's kerf (the width of the mark it makes) has a physical minimum, and lines below that threshold may appear broken, faded, or completely absent depending on the metal and finish.
Decorative hairlines, thin borders, and fine underlines should all be at least 0.3mm stroke weight. If your design uses 0.25pt hairlines (common in elegant typography), thicken them for metal.
Cutout structural rules
This is the most important constraint for designs with laser cutouts. The card must remain physically rigid after material is removed. A card with too many or too large cutouts becomes flimsy, bends easily, and can even break.
Rules:
Edge margin: 2mm minimum. No cutout should come closer than 2mm to the outer edge of the card. The card's perimeter needs a solid frame to maintain rigidity and prevent edge deformation.
Bridge width: 2mm minimum. Between any two adjacent cutouts, there must be at least 2mm of solid metal connecting them. Narrower bridges can bend or snap under normal handling.
Total cutout area: 30-40% maximum. As a general guideline, the total area of all cutouts should not exceed roughly 30-40% of the card face. Beyond that, the card loses structural integrity. This isn't a hard rule — the specific layout matters (a single large cutout centered is different from 50 tiny perforations spread across the entire surface) — but it's a useful planning threshold.
No floating elements. Every piece of the card must connect to the rest of the card. If a cutout would create an isolated metal "island" with no connection to the surrounding card structure, the island falls out during production. Design cutouts so that all remaining metal is one connected piece.
We review every cutout design for structural integrity before production. If something won't hold together, we'll suggest specific adjustments — adding bridges, widening connections, simplifying shapes — before you approve the proof. We don't charge for this review or the file adjustments.
Gradients and halftones
Laser engraving cannot reproduce gradients. Engraving is binary: the surface is either marked or it isn't. There's no way to engrave a fade from dark to light, a color gradient, or a halftone dot pattern.
If your design includes gradients, you have two options:
- Move the gradient elements to the color print layer. CMYK printing on metal handles gradients the same way paper printing does — smoothly and accurately. The metallic base shows through slightly, which adds a shimmer quality that paper gradients don't have.
- Simplify the gradient into solid areas. Convert the gradient into two or three solid blocks of different engraving density — fully engraved, partially engraved (hatching or stippling), and not engraved. This is a stylistic interpretation that some designers prefer.
Reverse text on colored metals
On PVD-coated metals (black, gold, rose gold, etc.), engraving reveals the silver steel underneath. This means engraved text appears as silver lines on a colored background. It's inherently "reverse" — light text on a dark or colored surface.
If you want dark text on a colored metal card (for example, black text on a gold card), that requires color printing — not engraving. Engraving always reveals the base steel, which is always silver. You cannot engrave in color.
If you want white text on a dark metal (say, white text on black steel), that also requires color printing — specifically, white ink printing on the metal surface. Engraving on black reveals silver, not white.
Plan your text approach early in the design process. The interaction between engraving direction and metal color determines what your text looks like.
Adapting an existing paper card design for metal
If you already have a paper business card and want a metal version, here's how the design elements typically translate:
Solid-color backgrounds → the metal surface. A white background on your paper card becomes the metal surface — choose silver or white steel. A black background becomes black PVD-coated steel. A gold background becomes gold steel. The "background" is the material, not a printed layer. This is one of the most effective translations because it eliminates an entire production step (printing the background) and lets the metal itself carry the color.
Foil elements → engraving. If your paper card has gold foil text, the metal equivalent is engraved text on a gold metal card. The metallic effect is inherent to the material instead of applied as a finish. The visual impression is similar — metallic text on a contrasting surface — but the physicality is different.
Full-color graphics → color print layer. Photographs, illustrations, and multi-color logos move to the offset printing layer. The visual result differs from paper printing — the metallic base modifies the color temperature and adds a subtle shimmer — but the reproduction fidelity is high.
Embossing and debossing → not available on metal. There's no equivalent. If your paper card relies on emboss/deboss as a primary design feature, the metal version will need a different approach. Cutouts can create dimensionality, but it's a different kind of dimension — removed material, not deformed material.
Spot UV and matte lamination → surface finish choice. The matte/gloss contrast of spot UV on paper doesn't directly translate. But choosing between matte, brushed, and mirror finish on metal gives you a surface character decision that serves a similar purpose — how does light interact with the card?
Edge painting → not applicable. Metal card edges are raw-cut metal. There's no edge treatment. The edge is part of the material's appeal — you can see the steel cross-section in profile.
If this sounds complicated, it doesn't need to be. Send us your existing paper card design (or even a photograph of it) and we'll tell you exactly how it translates to metal, what modifications are needed, and whether metal is the right choice for that particular design. No charge for this assessment.
File checklist
Before submitting your artwork, verify:
- Format: Vector file — AI or PDF with all elements as vector paths
- Text: All text converted to outlines (Type → Create Outlines in Illustrator)
- Layers separated: Engrave elements on one layer, cutout elements on another, print elements on a third. Each layer clearly labeled.
- Minimum text size: 6pt minimum, 7pt+ preferred. Bold/medium weights preferred over light.
- Minimum line weight: 0.3mm (0.85pt) for all engraved lines
- Cutout margins: No cutout closer than 2mm to card edge
- Cutout bridges: Minimum 2mm solid metal between adjacent cutouts
- No floating islands: All metal areas connected to the main card body
- Print layer (if applicable): CMYK, 300 DPI minimum for raster elements, 1mm bleed
- Card size: 3.375" × 2.125" (85.6mm × 54mm) with rounded corners
- Both sides designed: Front and back included in the file
Missing something? Not sure about a constraint? Send what you have. We review every file before production and handle adjustments at no extra charge. It's always better to send imperfect files and let us fix them than to delay because you're unsure about a technical requirement.
Common design mistakes on metal
These are the issues we see most often in submitted files. Avoiding them saves a revision cycle.
Text too small. The #1 issue. Designers set email addresses and phone numbers at 5-5.5pt because that's what fits on a paper card at 3.5" × 2". The metal card is slightly smaller (3.375" × 2.125"), the engraving process is less forgiving than offset printing, and those elements need to be bumped to 6-7pt. Resize them before submitting.
Cutouts too close to edges. Designers draw a dramatic cutout pattern that extends to within 1mm of the card edge. It looks great on screen but the card would flex and bend at those thin edges. Pull cutouts inward by at least 2mm.
Gradients on the engrave layer. A subtle gradient behind the logo, a faded line at the bottom of the card. These are invisible on the engrave layer — the laser can't reproduce them. Move them to the print layer or remove them.
Not accounting for engraving direction. On dark metals (black, copper, gold), engraving reveals lighter steel. The design should be conceived with this in mind — your "ink" is light on dark, not dark on light. Designers accustomed to paper (dark ink on light paper) sometimes submit designs that look inverted when engraved.
Over-designing. Metal cards are material-first objects. The metal surface, the weight, the finish — these ARE the design. A card packed edge-to-edge with engraved text, printed imagery, cutout accents, and a QR code leaves no room for the material to speak. The most effective metal card designs are restrained — a logo, a name, minimal contact info, and generous open space where the metal surface is the hero.
Design tips (what works best)
After producing thousands of metal card designs, these patterns consistently produce the best results:
One side bold, one side functional. Front: logo centered, generous space, maybe one cutout accent. Back: contact details, engraved cleanly, functional layout. This structure gives the card both visual impact (front) and practical value (back).
Use cutouts strategically, not decoratively. A single bold cutout shape (your logo silhouette, a geometric pattern, a meaningful symbol) has more impact than scattered decorative cutouts. Each cutout adds cost and reduces structural integrity — make each one count.
Let the metal color do the work. If you chose black brushed steel, the material itself is dramatic. You don't need to add complexity to make the card impressive. Engraved white logo on black brushed steel with one geometric cutout — that's enough for a card people will keep on their desk for years.
Test legibility at actual size. Design at 100% scale and print a paper test. Hold it in your hand. Can you read the phone number? Is the email address legible? The screen is forgiving — physical size is not.
Consider adding NFC. A QR code engraved on the back is functional but expected. An NFC chip — invisible, embedded in the card — lets the recipient tap their phone and land on your profile or website. It's cleaner than a QR code and creates a second moment of surprise after the initial "is this metal?" reaction. NFC adds $2-4 per card. Learn about NFC →
Common questions
I'm not a designer. Can you design my metal card?
We don't offer full brand design services, but we do handle all file preparation and production-ready artwork setup. If you have a logo and know what information you want on the card, send those to us (even as a rough sketch or Word document) and we'll create the production file with proper layer separation, sizing, and layout. For complex design work (logo creation, brand identity development), we can recommend designers who specialize in print-ready work.
Can I see a proof before production?
Always. Every metal card order includes a digital proof showing exactly what will be engraved, cut, and printed. You approve the proof before anything goes to production. If the proof isn't right, we revise it. There's no limit on proof revisions.
Do you have a design template I can download?
We can provide an Illustrator template with the correct dimensions (3.375" × 2.125"), corner radius, bleed area, and pre-made layers (Engrave, Cut, Print) labeled and color-coded. Request a quote → and mention you'd like the template, or email us at [email protected] and we'll send it over.
What if my design doesn't work on metal?
We'll tell you. During file review, if a design has fundamental issues (entirely photographic with no engraving elements, or cutouts that would make the card structurally unsound), we'll explain what the limitations are and suggest alternatives. Sometimes the answer is "this design works better on paper with foil" — and we'll guide you in that direction if that's the case.
How long does the file review take?
Typically 1-2 business days. If the file is clean and production-ready, it moves to proofing immediately. If adjustments are needed, we make them and send you the revised proof within the same window.
Can I put a photograph on a metal card?
Yes, via the color print layer. The photograph is printed directly onto the metal surface. The metallic base shows through slightly, giving the image a distinctive quality. For the sharpest photographic reproduction, silver or white metal provides the most neutral canvas. Dark metals (black, gold) shift the color temperature of the printed image. We recommend sending a test file and reviewing the proof carefully if photographic reproduction is critical.
Continue reading
METAL
Metal Business Cards: The Complete Guide
Read guide →PRICING
How Much Do Metal Business Cards Cost?
Read guide →METAL
Which Metal Business Card Color to Choose
Read guide →COMPARISON
Metal Business Cards vs Paper — When Metal Actually Makes Sense
Read guide →METAL
NFC Metal Business Cards — Smart Cards That Make an Impression
Read guide →Related products
Ready to submit your design?
Request a Custom Quote →Upload your design files with your quote request. We'll review them, confirm what works on metal, and send you a proof — all included in the price.
Configure and price your cards →
Book a consultation → · Peppermint Studio → · Metal cards cost guide →