FILE SETUP
How to Set Up a Die Line: Die-Cut and Custom-Shape Files
The CUT swatch, corner radius, spacing, bleed and bridges that let a steel-rule die cut your shape clean, and how to supply the die line so nothing gets redrawn.
By Austin Terrill · Print Peppermint · 11 min
On this page
- What a steel-rule die is
- How to draw the cut line
- Inside corners need a 1.3 mm radius
- Letters, rings and other closed shapes need bridges
- Keep cuts 3 mm apart, and 3 mm from the trim
- Bleed and safety follow the shape
- Design for ±0.8 mm: don't trace the die
- Creases, perforations and kiss cuts
- Creases and folding
- Perforations
- Kiss cuts
- Shaped cuts and painted edges don't mix
- Standard dies vs custom dies
- How to supply the die line
- Tolerance stack-up
- Die-cut preflight checklist
The short answer: draw the cut as one continuous closed path with a 0.25 pt stroke, in a spot swatch named CUT (preview 100% magenta), on its own layer, set to overprint, in the same file and on the same artboard as the art. Round every inside corner to at least 1.3 mm (0.05 in). Keep cuts 3 mm apart and 3 mm from the trim, run the art 3 mm past the cut, and keep copy 3 mm inside it.
A die line isn't artwork. It's a bending diagram for a strip of steel. Every rule below is either something that steel can't do, or something that happens to the paper on either side of it.
| Item | House spec | Why |
|---|---|---|
| Cut line | CUT swatch, 0.25 pt stroke, overprint, own layer | The die maker traces this path and nothing else |
| Path | One continuous closed path per shape | Each path becomes one length of bent steel |
| Inside corner radius | 1.3 mm (0.05 in) minimum | Steel rule can't be bent to a point |
| Outside corners | May be sharp | A joint at an outside corner tears into the waste |
| Cut to cut, cut to trim | 3 mm minimum | A narrower strip of stock crushes or tears |
| Bleed past a shaped cut | 3 mm, following the cut | Bare paper never shows at the edge |
| Safety inside a shaped cut | 3 mm | Copy stays clear of the edge |
| Cutting tolerance | ±0.8 mm (±0.03 in) across a stack | Borders that trace the die show the shift |
| Closed cutouts | Need bridges | Otherwise the center falls out |
| Edge painting | Not with shaped cuts | Painted edges need straight cuts and square corners |
Numbers from the Print Peppermint House Spec v1. Laser cutting has its own table: see the laser-cut file setup guide.
What a steel-rule die is
A steel-rule die is a strip of hardened steel with a sharpened edge, bent to the outline of your shape and set edge-up into a slot cut in a flat board. Rubber pads sit alongside the blade. On press the die closes onto the sheet against a hard plate, the blade cuts through, and the rubber pushes the sheet off the steel as the die opens.
One board can hold several kinds of rule, and each line type in your file maps to one of them:
- Through cut (CUT): a sharp rule that cuts all the way through. The outline of your piece and any window in it.
- Kiss cut (KISS): a rule set to cut the face stock but not the liner beneath it. Stickers and labels that peel off a backing sheet.
- Crease (CREASE): a blunt, rounded rule that doesn't cut. It presses a channel into the sheet so it folds on a line instead of cracking wherever it likes.
- Perforation (PERF): a notched rule that cuts in short dashes with uncut ties between, for tear-off stubs and reply cards.
Laser cutting is a separate process. A laser burns through the sheet instead of pressing a blade into it, which lets it hold finer detail, and it has its own file standard for bridges, slots and windows. If your shape needs that, set it up with the laser-cut file setup guide instead of this one.
How to draw the cut line
The cut line is a stroke, not a shape: 0.25 pt, in a spot swatch named exactly CUT, set to overprint, on its own layer, as one continuous closed path around each piece.
- CUT swatch, 100% magenta preview. A named spot color, not a process color, so it separates onto its own plate and never prints. Magenta so nobody mistakes it for art.
- 0.25 pt stroke. The weight is a drawing convention, not the width of the blade. Thin enough to show exactly where the edge falls on the proof without covering the art.
- Overprint on. Without it, the die line knocks a hairline of white out of the art beneath when the file is separated, and that hairline can end up printed.
- Own layer. The die maker pulls the CUT layer out on its own. Nothing else lives on it: no guides, no notes, no crop marks.
- One continuous closed path. Each piece is one path with its start and end joined. Open ends, stacked duplicates and stray points each become a question, or a second cut in the wrong place.
- Never a fill, never a compound mess. A filled shape describes an area, not an edge, and the die maker has to guess which side you meant. Compound paths built from dozens of fragments, clipping masks and live effects hide the real outline. Unite, expand and simplify until each shape is one clean path.
| Swatch | Operation | Preview color | Draw it as |
|---|---|---|---|
| CUT | Through cut | 100% magenta | 0.25 pt stroke, one closed path per shape |
| CREASE | Score or fold line | 100% cyan | A solid stroke, one line per fold |
| PERF | Perforation | C100 M60 | A solid stroke; write the spacing you want in your notes |
| KISS | Kiss cut (stickers) | C60 M100 | A stroke, one closed path per sticker |
Match the names exactly. Every shop names these differently, and a file built for another printer's swatch names comes to us as a question. The full reserved list is in spot color and Pantone.
Inside corners need a 1.3 mm radius
Round every inside corner of a die-cut shape to at least 1.3 mm (0.05 in). Outside corners can stay sharp.
Steel rule is formed by bending it around a pin. It can wrap a radius, but it can't fold back on itself to a point, so a sharp inside corner has to be built from two lengths of rule butted together. No joint is perfect: it leaves a hair of uncut fiber at the corner. When the waste is stripped away that hair tears, and at an inside corner the tear runs into your piece. At an outside corner the same joint is harmless, because the tear runs off into the waste.
Check the places people forget: the notch where two arches or scallops meet, the throat of a tab, the ends of a slot, the inside of a star. An offset path with round joins rounds the outside corners and leaves the inside ones sharp, so check each corner of an offset shape by eye.
Letters, rings and other closed shapes need bridges
Any closed cut inside another closed cut makes an island, and an island falls out. Cut the letter O through a card and its center drops away with the waste. The same goes for the counters of A, B, D, P, Q and R, and for every ring and donut.
The fix is a bridge: a short uncut tie that holds the island to the rest of the piece. Bridges change the look, which is where stencil lettering gets its breaks, so design them in rather than leaving us to place them. Put them where they read naturally, keep them a consistent width, and tell us in writing which islands stay and which should drop out as windows. We size the bridges to your stock at proof.
Keep cuts 3 mm apart, and 3 mm from the trim
Leave at least 3 mm between any two cut lines, and between any cut and the trimmed edge of the sheet.
Each rule has a beveled edge, and the bevels push the paper sideways as they go in. Two rules close together squeeze the strip of stock between them from both sides. Below 3 mm that strip crushes, tears or pulls away with the waste, and the ejection rubber has too little to hold. The die maker also needs solid board between two slots to hold both rules straight.
Bleed and safety follow the shape
Run the art 3 mm past the cut line, following the shape, and keep copy and anything that must not be clipped 3 mm inside it.
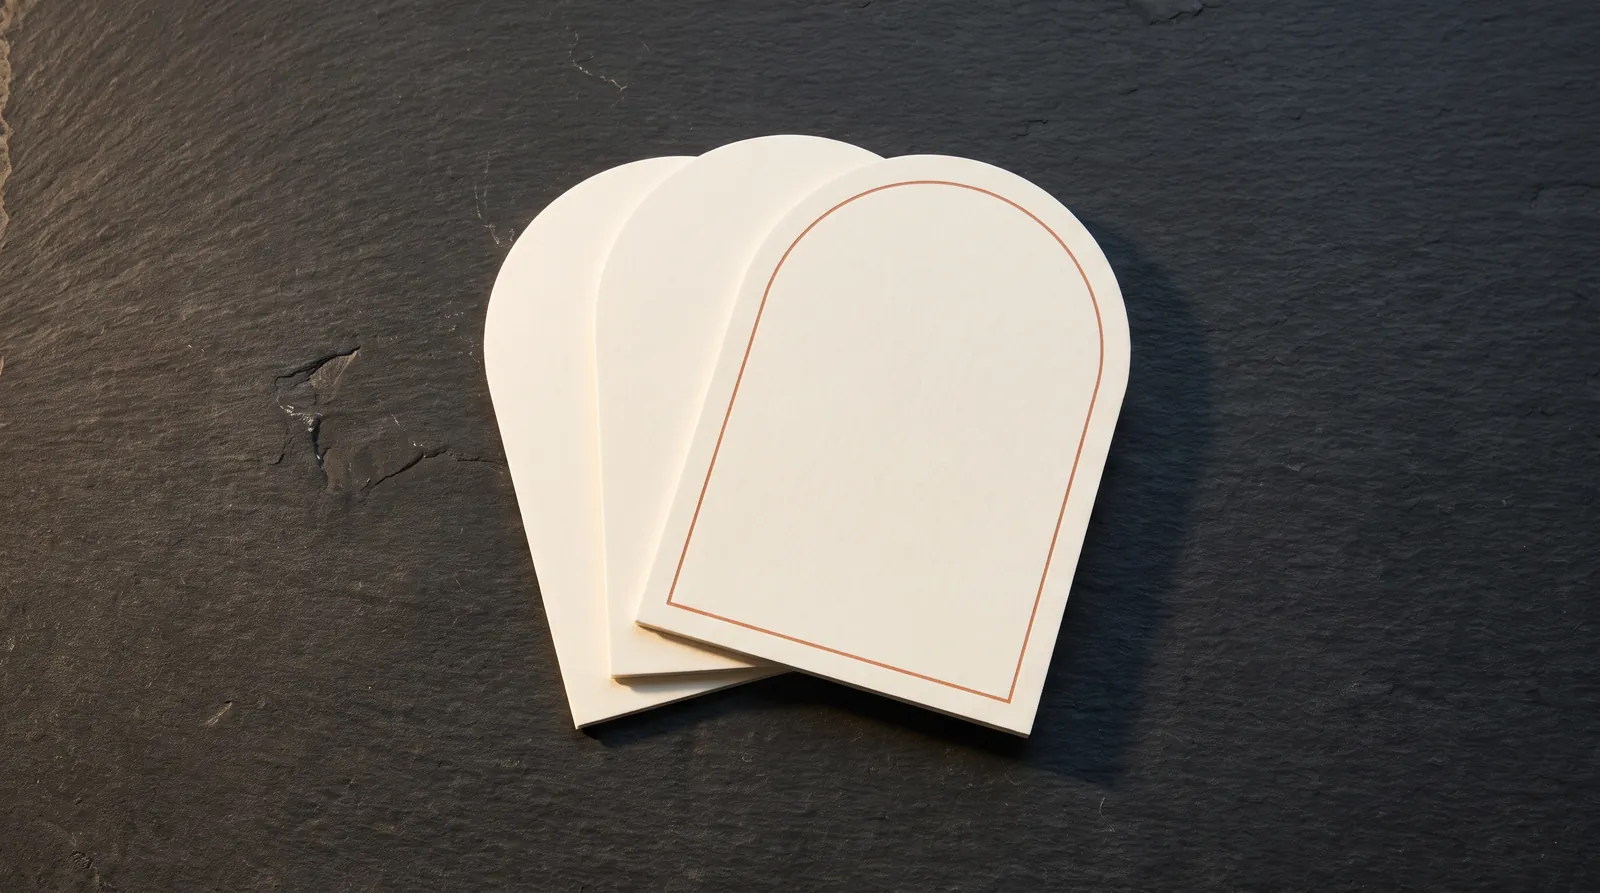
On a rectangle, bleed and safety are two boxes. On a custom shape they're offsets of the cut path: bleed is the die line offset 3 mm outward, safety is the die line offset 3 mm inward. Build both from the die line itself with an offset path, not from a rectangle around it, so a round tag gets a round bleed and an arch gets an arched safety. Keep those guides on a non-printing layer, never on the CUT layer.
The bleed is there so that when the cut lands a little off, you see art at the edge, not bare paper. The safety is there so type isn't sliced when it lands off the other way.
Design for ±0.8 mm: don't trace the die
Die cutting holds ±0.8 mm (±0.03 in) across a stack. Design so a shift of up to 0.8 mm in any direction doesn't show.
The die cuts a stack, and the sheets in it sit a fraction apart. Most designs never notice. The ones that do are designs where something printed follows the cut closely: a keyline just inside a round tag, a frame that echoes a scalloped edge, a band of color that stops just short of the cut. Shift the cut 0.8 mm and a 2 mm border reads as 1.2 mm on one side and 2.8 mm on the other.
TOLERATES A SHIFT
Color that bleeds 3 mm past the cut. Art held well inside the safety. Borders wide enough, or far enough in, that a 0.8 mm difference between opposite sides doesn't register. Shapes whose edge is the design, with nothing printed chasing it.
SHOWS A SHIFT
Thin keylines that trace the die. Borders a couple of millimeters inside a shaped edge. Patterns that must meet the cut at a precise point. Foil or ink that stops just short of the cut.
Creases, perforations and kiss cuts
Draw creases, perforations and kiss cuts the same way as the cut line (a stroke on its own layer, in its own reserved swatch) and each tells the die maker to fit a different rule.
Creases and folding
Heavy stock must be scored before it's folded. The crease rule presses a channel into one side of the sheet and raises a bead on the other; fold so the bead ends up on the inside of the fold, and the fibers bend around it instead of cracking across the spine. Draw each crease as a single straight CREASE stroke running from cut edge to cut edge, and write which way it folds in your notes. Folds that run with the paper grain are cleaner than folds across it, which matters most on dark, dyed or coated stock, where a crack shows a lighter core. Keep any emboss or foil 3 mm clear of a crease; see the emboss and deboss file guide.
Perforations
Draw a perforation as a solid line in the PERF swatch. Don't draw dashes. Write the spacing you want in your notes, or leave it to us and we'll fit a rule that tears clean on your stock.
Kiss cuts
For stickers and labels, draw each kiss cut as a closed path in the KISS swatch. It cuts the face stock and leaves the liner whole, so every sticker follows the same bleed, safety and spacing rules as a through cut.
Shaped cuts and painted edges don't mix
We don't combine a die-cut shape with edge painting. Painted edges need straight cuts and square corners.
Edge color goes onto the side of a clamped stack of cards. The stack has to be squared tight and flat so the color sits on the edge and doesn't creep between sheets. A curve, a notch or a rounded corner can't be clamped that way, so the color streaks, pools or wicks into the faces. Rounded corners and painted or gilded edges are one or the other. Edge painting design has the rest of that spec.
Standard dies vs custom dies
If a standard die already makes your shape, use it. Rounded corners at 3.2 mm (1/8 in) and 6.4 mm (1/4 in) radius run on standard dies. Any other shape needs a custom die, and a custom die is a one-time tooling cost: once it's made, the same die can cut reprints of the same shape.
Two consequences for the file. A custom die is built to the exact path you supply, so any later change to the shape, even half a millimeter, is a new die: lock the shape before you approve the proof. And if your shape is nearly standard, such as a rounded rectangle with a slightly different radius, ask whether a standard radius will do.
How to supply the die lineAGENCY LEVEL
Supply the die line in the same file and on the same artboard as the art, on its own layer, with a preview and a short note on intent.
- Set the artboard to the flat size of the shape's bounding box, with 3 mm of bleed past it.
- Put the die line on a top layer named CUT. CREASE, PERF and KISS go on their own layers beneath it; art goes below those.
- Keep the die line at 100% scale and in position over the art. Not on a separate artboard, a separate page, or only in a separate file: it has to stay registered to the art.
- Leave the stroke live. Don't outline it into a filled shape.
- Export PDF/X-4 with layers intact, so CUT comes through as its own spot channel. PDF/X-1a and native AI files are accepted.
- Add a preview, PDF or JPG, with the die line visible over the art.
- Write a short note on intent: which side is the front, which way each crease folds, which islands stay and which drop out, and any edge that must relate to printed art.
General export settings are in print-ready files, and the checklist we run on arrival is on the file requirements page.
Tolerance stack-up
Tolerances add. Foil lands within ±0.5 mm of print, and the cut lands within ±0.8 mm, so a foiled element near a die-cut edge can sit up to 1.3 mm off its drawn position relative to that edge in the worst case. That's why the safety is 3 mm, not 1 mm: it covers the stack with room to spare. When two finishes have to relate to a cut, add up the tolerances before you design the relationship. Combining print finishes works through the full stack.
Die-cut preflight checklist
- Cut line in the CUT swatch (100% magenta preview), 0.25 pt stroke, overprint on
- CUT on its own layer, in the same file and on the same artboard as the art
- One continuous closed path per piece: no open ends, duplicates, stray points or fills
- Every inside corner rounded to 1.3 mm (0.05 in) or more
- 3 mm between cuts, and between any cut and the trim
- Art bleeds 3 mm past the cut, following its shape
- Copy and critical art 3 mm inside the cut
- No keylines or borders that trace the die closely (tolerance ±0.8 mm)
- Letters and rings bridged, or the drop-outs marked as intended windows
- Creases, perfs and kiss cuts in CREASE, PERF and KISS, each on its own layer
- Fold directions and perf spacing written in the notes
- No edge painting on shaped pieces
- Preview with the die line visible, plus a note on intent
Send the file with a custom quote request and we check the die line before any steel is bent. How proofing works shows what you'll approve.
More on File Setup & Prepress
How to Set Up Print-Ready Files: The Complete Checklist for Specialty Print
Read guide →Minimum Line Weight and Type Size for Every Print Process: Foil, Letterpress, Emboss, UV, CMYK and Die Cut
Read guide →Spot Color and Pantone for Print: Choosing, Specifying and Curating PMS Colors
Read guide →Continue reading
FILE SETUP
How to Set Up Print-Ready Files: The Complete Checklist for Specialty Print
Read guide →FILE SETUP
Designing for Painted Edges: Thickness, Corners and Color
Read guide →FILE SETUP
Combining Print Finishes: What Works Together, What Doesn't, and in What Order
Read guide →FILE SETUP
How to Set Up Files for Embossing and Debossing
Read guide →FILE SETUP
Spot Color and Pantone for Print: Choosing, Specifying and Curating PMS Colors
Read guide →Have a shape in mind?
Start a custom quoteSend the art with the die line on its own layer. We check corners, spacing, bridges and bleed before a die is made.
Laser-cut file setup · File requirements · All file setup guides